Installation Instructions
If you are unsure of any of the steps in the following instructions, please contact a licensed technician.
1. Shut off or disconnect the electrical power and the gas supply to the furnace, water heater or gas dryer.
2. Remove the failed hot surface igniter by cutting the 2 wires at least 3 inches from the porcelain bushing. Remember the steps taken in the removal of the failed igniter. The reverse order will be used in step 6 during reinstallation.
3. Strip ½ inch of insulation from the remaining 2 wires for reconnection to your new hot surface igniter.
4. Compare the old porcelain to your new igniter and determine which mounting bracket is necessary for a proper matching fit. Your replacement hot surface igniter may be an exact fit and a mounting bracket may not be necessary.
5. Connect the existing 2 wires to your new igniter by using the 2 ceramic wire connectors, to secure the connection. Be sure the wire connectors are tight, for a secure and safe electrical connection. Bare wires should not be showing.
6. Install your new hot surface igniter in the same position and location as the failed hot surface igniter. Make sure the wires are as far from the burner as possible. The igniter should be installed in the reverse order of step 2.
7. Turn on the electrical power and the gas supply to the furnace, water heater or gas dryer.
8. Test the furnace, water heater or gas dryer for proper ignition. Shut it off and restart it 3 times to ensure everything is functioning correctly.
9. Reattach the cover of the combustion area, if applicable.
Warning
Hot surface igniters should be used only in their prescribed applications. Any other use of these igniters is extremely unsafe and ill advised.
Silicon nitride hot surface igniters cannot be used in direct sense applications. The ignition element is completely insulated and cannot conduct electrical current to sense the flame current. If you are unsure about your specific application, contact a licensed heating technician for confirmation.

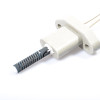
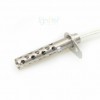
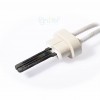
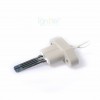
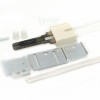
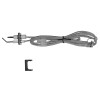 i3400 Igniter Kit